Uses for Empty Wine Bottles – DIY Chalkboard Wine Bottles
Since then I have developed a little bit of an addiction to the topic of wine bottle art. Not only do I still browse the thousands of images on Pinterest looking for inspiration but I now refuse to throw out ANY empty wine bottles. As you can image, I have a rather large stock pile of empty bottles now.
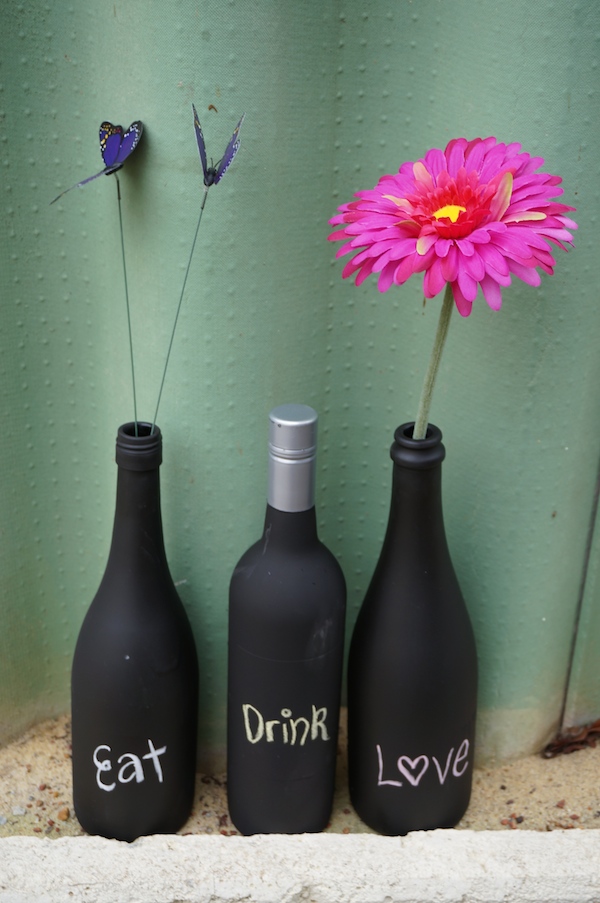
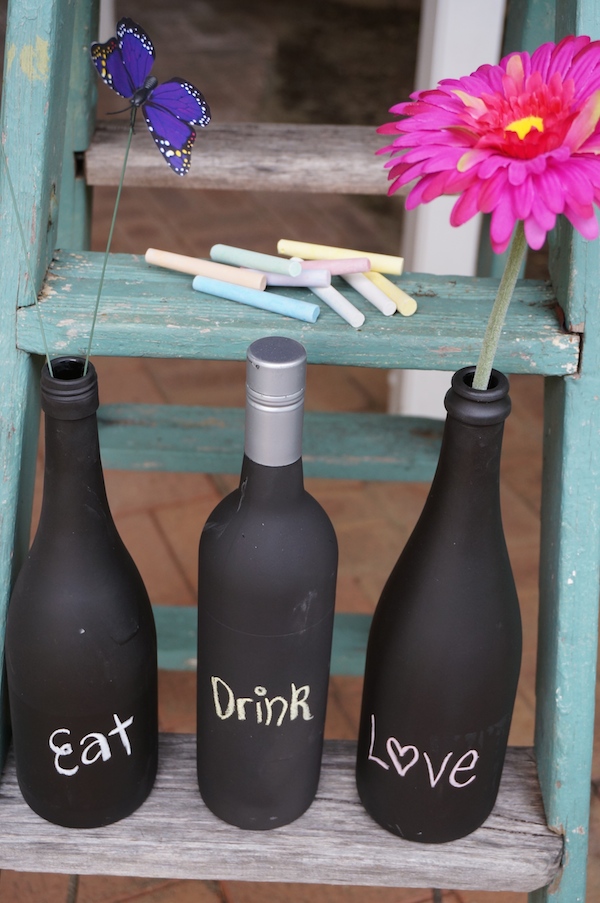
Over time I am planning to trial out different arty techniques on these bottles and of course share them with you guys. The first one I decided to tackle was Chalkboard Wine Bottles which can be used as table centre pieces, vases around the house or just a funky looking ornament to add some wine loving quirk to a room.
What you will need:
- Empty wine bottle
- Chalkboard paint (I used spray on)
- Chalk
- Newspaper
- Plastic gloves
What to do:
Step 1: Depending on what kind of effect you want the bottles to have you can either leave the labels and caps on for texture or remove these. I trialed both however I definitely liked the 100% smooth bottle at the end.
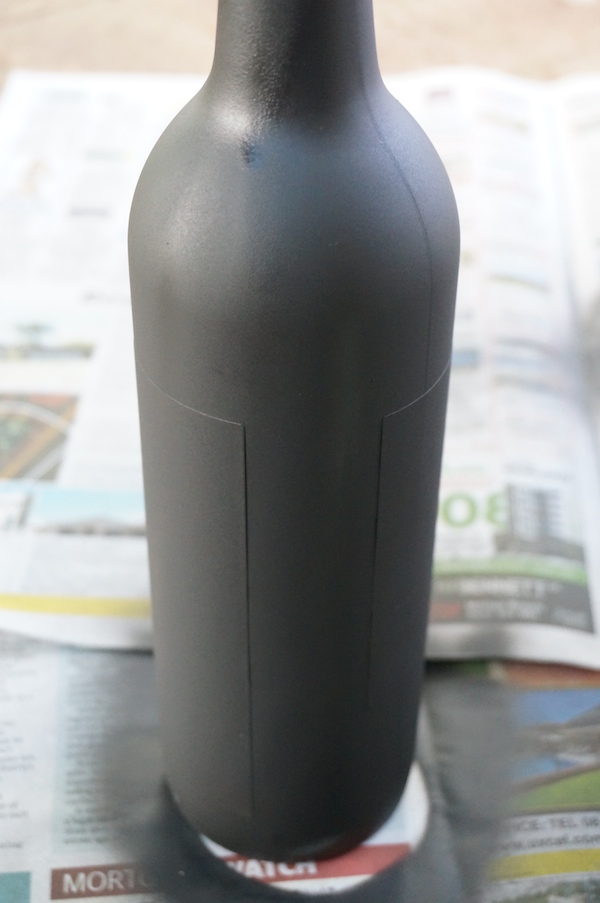
To remove the aluminium cap from the bottleneck I used some industrial scissors. Be careful when doing this as the aluminium gets very sharp. 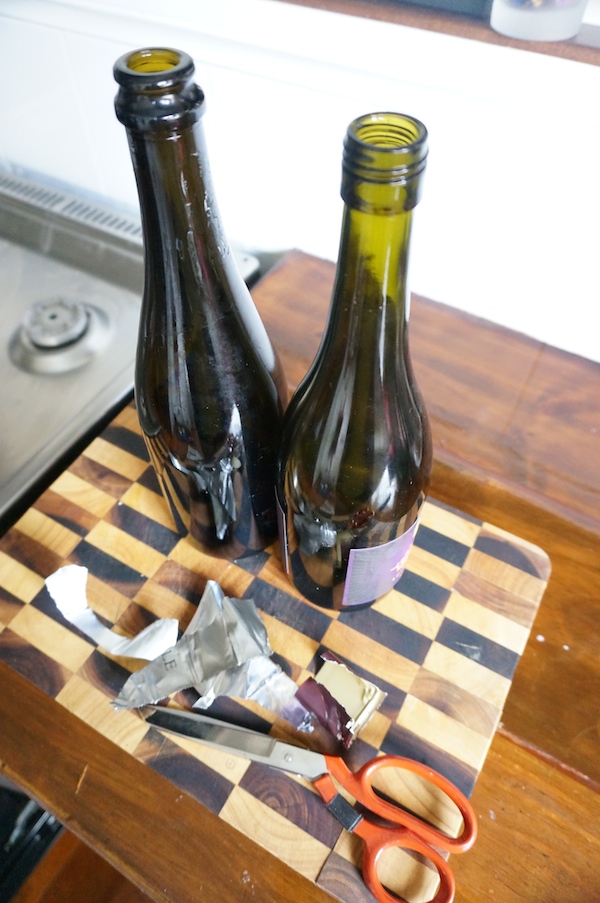
Step 2: Once you have a clean bottle and it has fully cooled down you’re ready to add the paint! I made sure I laid down plenty of newspaper so I didn’t turn everything in to a chalkboard. I also used plastic gloves as you will get paint everywhere, especially if you use spray paint. After reading various tips on the topic, nearly everyone said that you get a nice smooth finish from spray paint compared to brush on chalkboard paint. 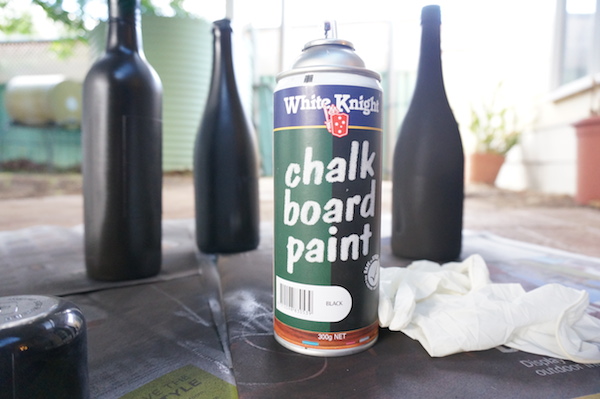
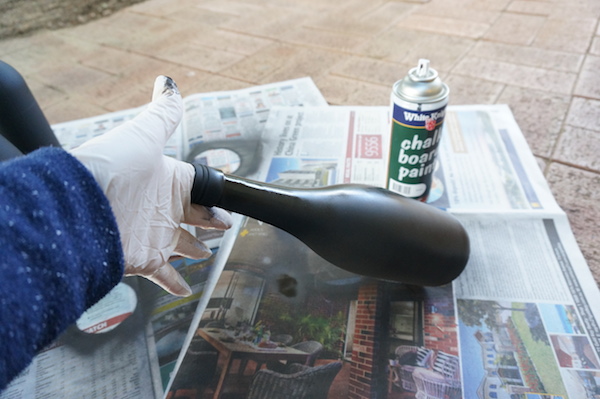
Step 4: I left the boats for 2 or 3 days before I got creative with my chalk. Mainly because I didn’t have time to do it beforehand however I also wanted to make sure they were 100% dry before letting my creative juices go wild on them.
So there you have it folks, I am pretty happy with how the bottles turned out and I’ll definitely be using them to spruce up the table for a dinner party or perhaps use as a funky vase in a room of the house!
