How We Made Our DIY Wine Bottle Lamp – Step by Step
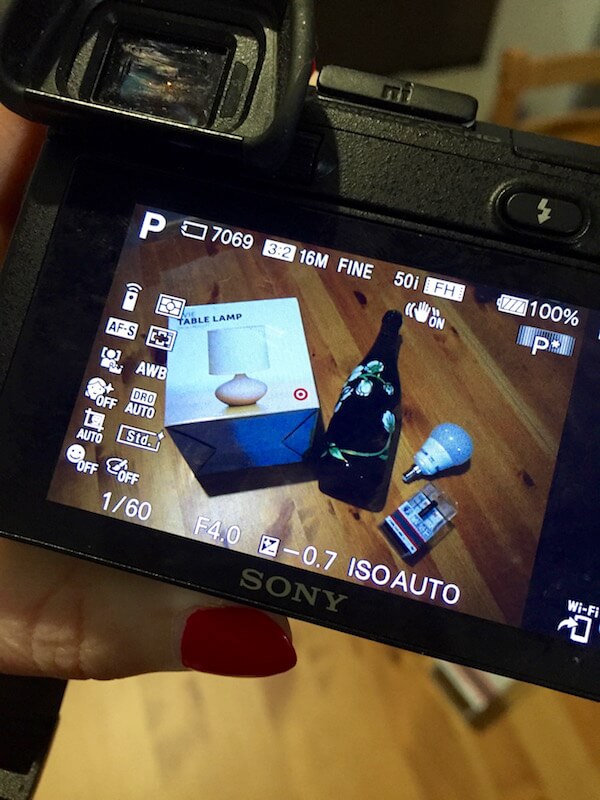
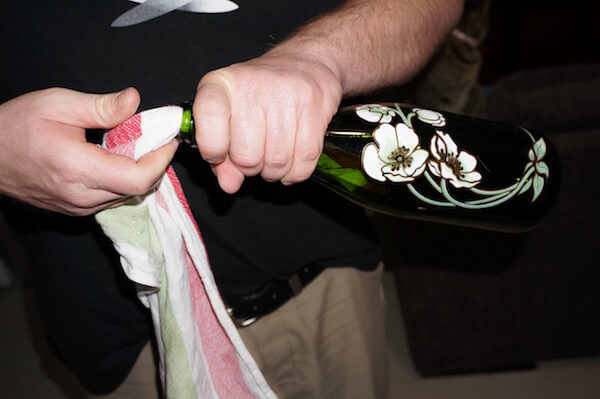
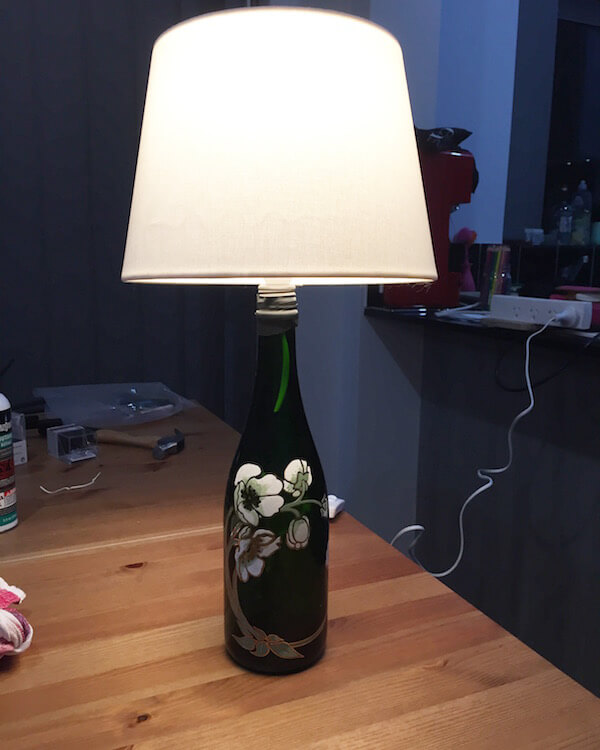
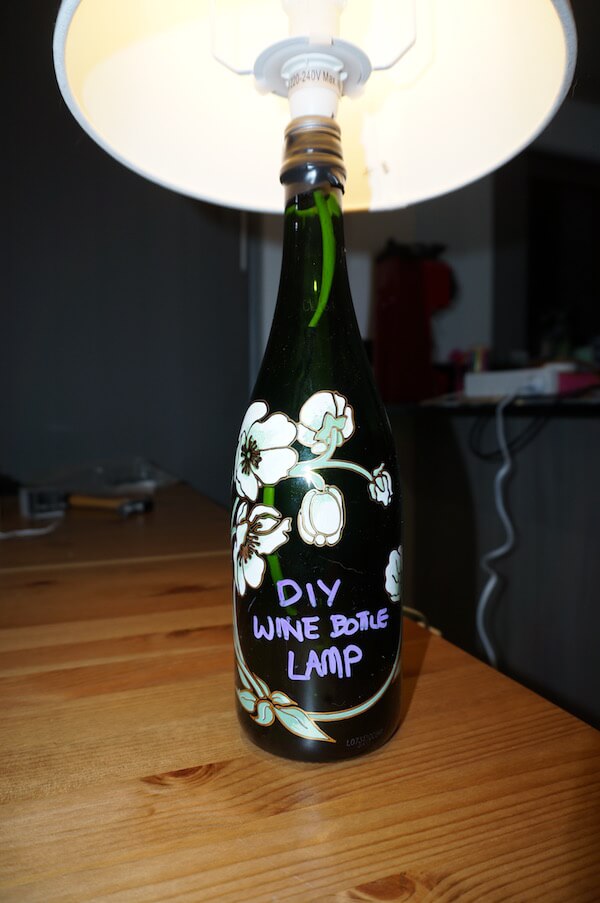 When a man can make you a lamp using your favourite wine bottle – marry him! That’s exactly what I am doing (in about 6 weeks in fact!). When I was researching for my 21 uses for empty wine bottles post I came across various wine bottle lighting suggestions. I showed my lovely Mr. Spittoon and he thought he could definitely give a lamp a shot. He started off by doing a practice one on a bottle we didn’t care about damaging and it turned out fantastic! So while he was making my Perrier-Jouët Belle Époque lamp (the most beautiful bottle I wanted to put to use after drinking all the delicious contents) I thought I would take some snaps to show you all the process.
It’s a bit more tricky than I initially expected so don’t try this at home unless you have the right tools and skills to do so please!
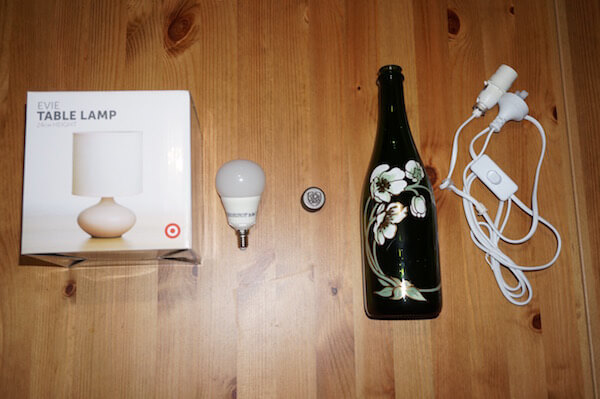
Materials:
- Empty wine bottle
- Cheap lamp from Ikea/Target that you can easily remove the cord and electrical parts from (you won’t need the base)
- Screw cap if the bottle doesn’t already have one
- Light bulb
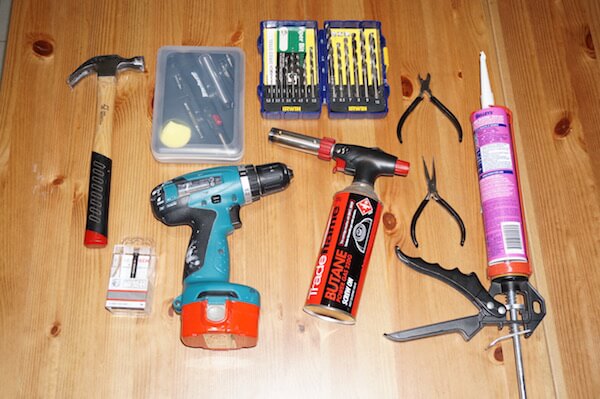
Tools:
- Hammer (if you need to get brutal with your cheap lamp base)
- Wire cutters
- Blade/wire stripping tool
- Drill and drill bits
- Diamond cutting drill bit
- Pliers
- Bucket/container for water-bath
- Soldering iron
- Heat shrink-wrap
- Lighter
- Super glue/silicon
- Electrical tape
Method:
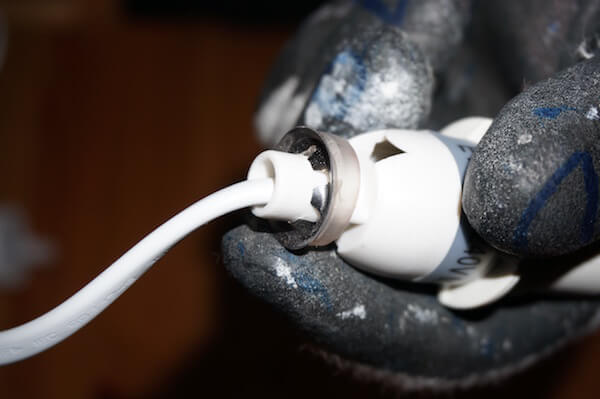
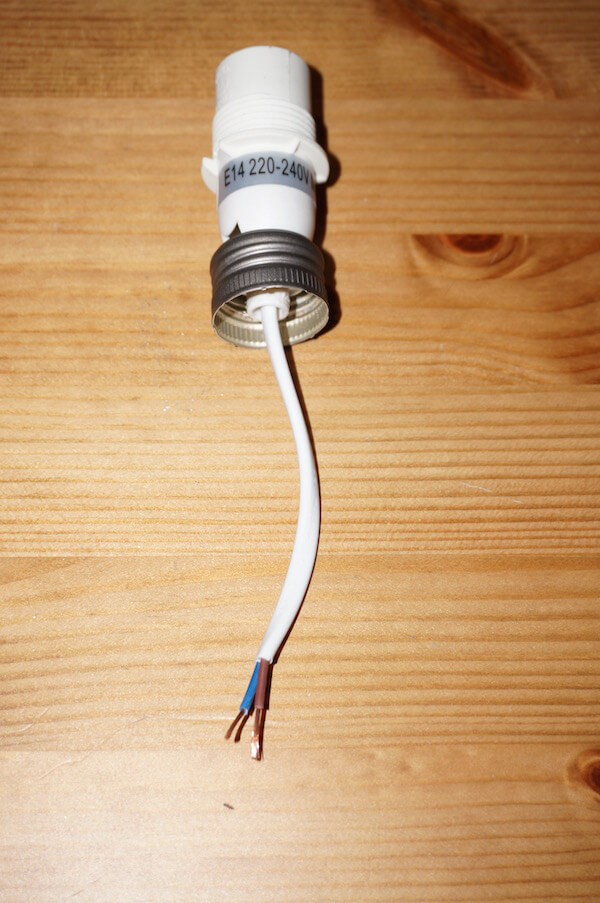
Free electrical components from pre purchased lamp (due to the type of lamp we bought from Target we needed to do this, however with the other IKEA lamp it already had a cap that we could mount easily to the bottle). NB – remove light holder locking system as shown in the 3rd picture below.
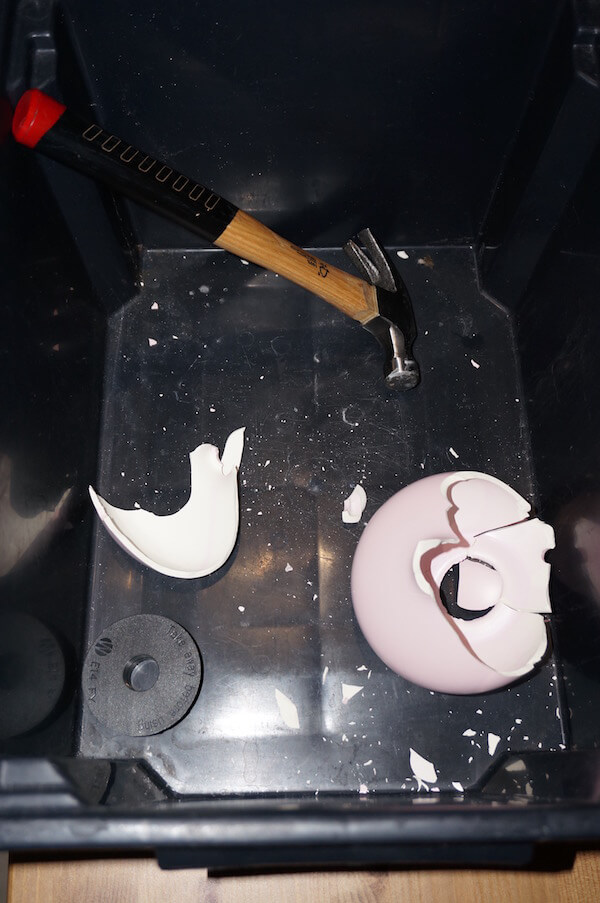
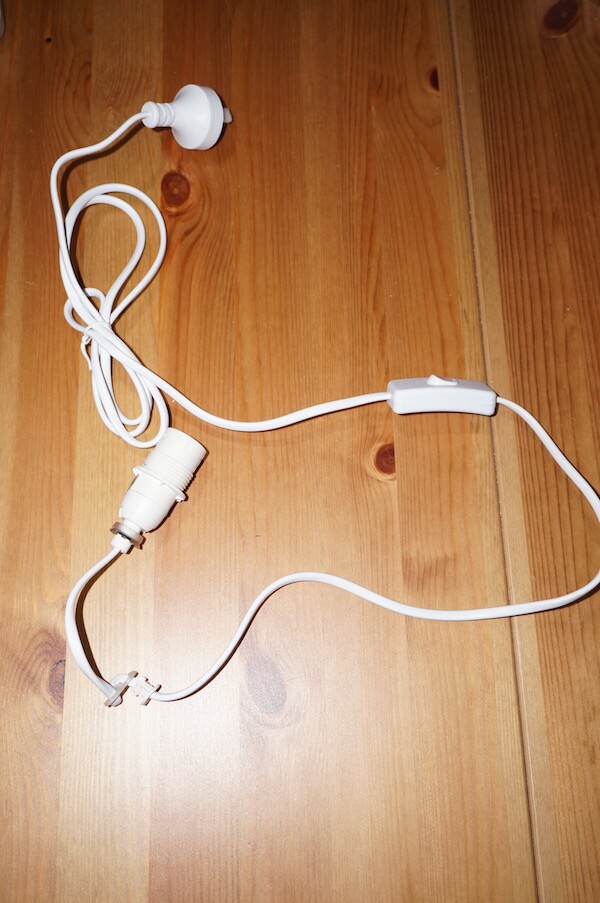
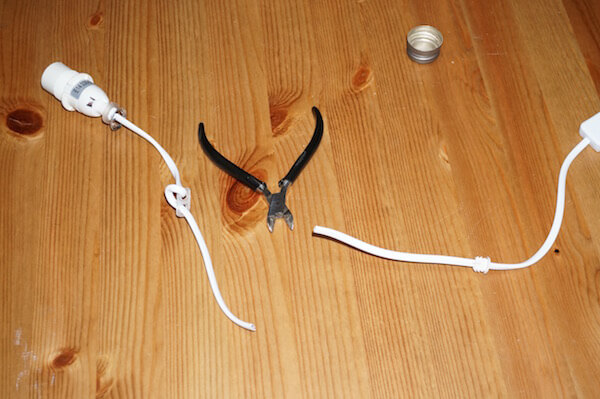
Cut the power cord somewhere in the middle with wire cutters, but make sure you leave enough room on the switch end that you can thread through bottle and re attach to other end of cord.
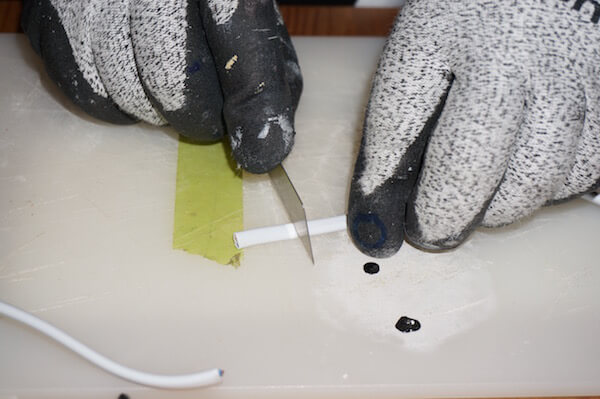
Remove white insulation from around wire carefully so wires are exposed. We used a blade because we don’t have wire stripping tools. Remove so copper wires are exposed. Do this to both ends of the cord.
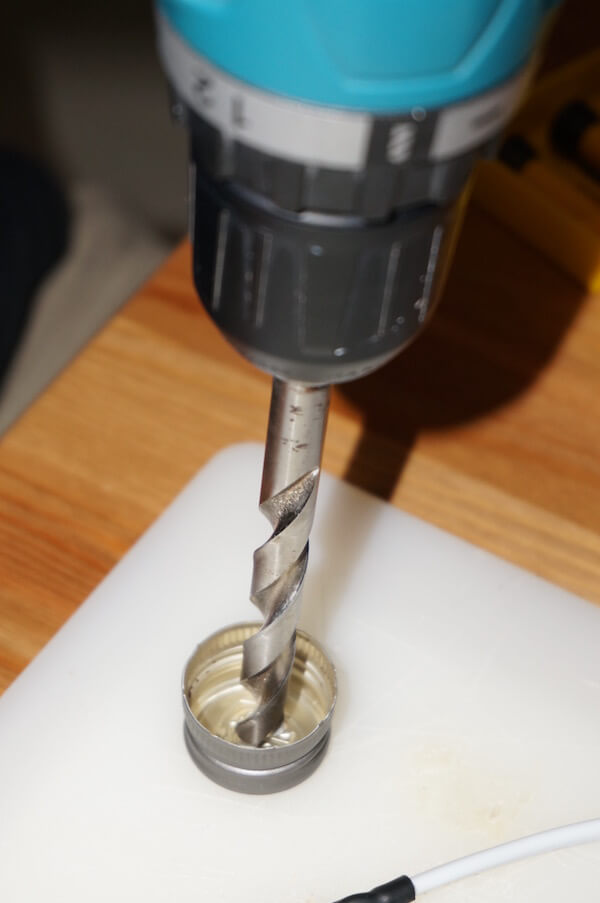
Select a drill bit that’s the same size as the bottom of the light component. Remove any inserts in the wine cap. Drill hole in wine cap in the centre.
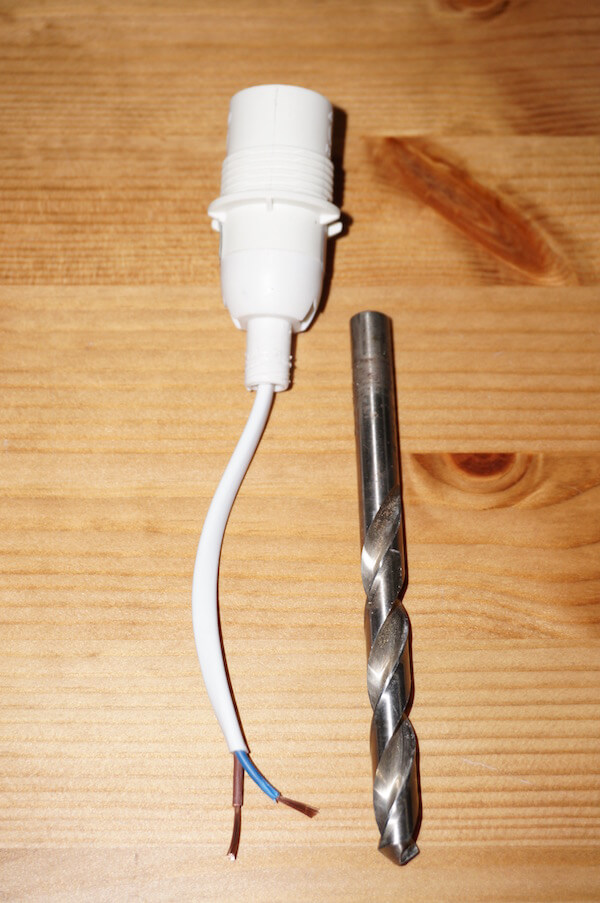
Insert the wine cap on the light component end of the power cord, top up, so it becomes a base for the electrical unit.
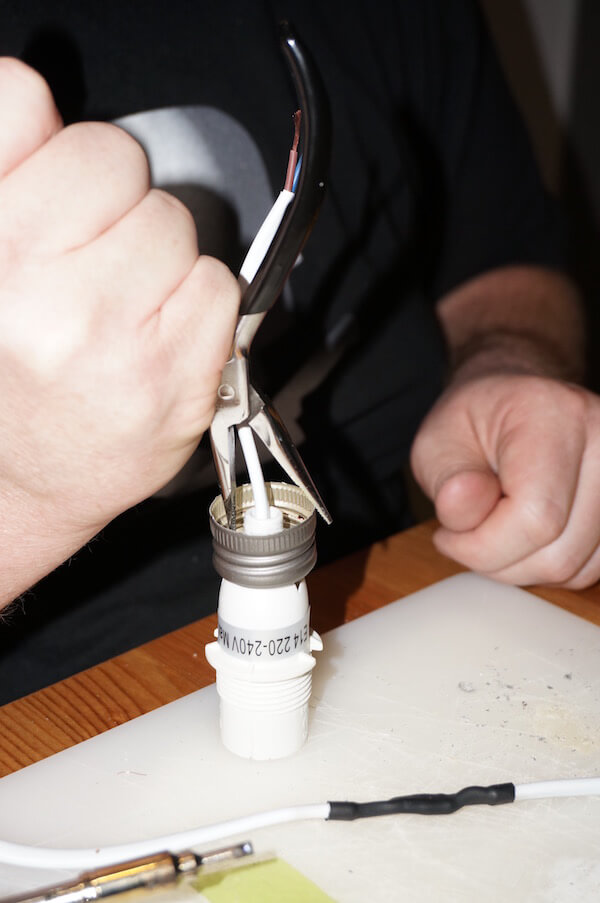
Replace the light holder locking system with pliers – push down until firmly in place to ensure no movement.
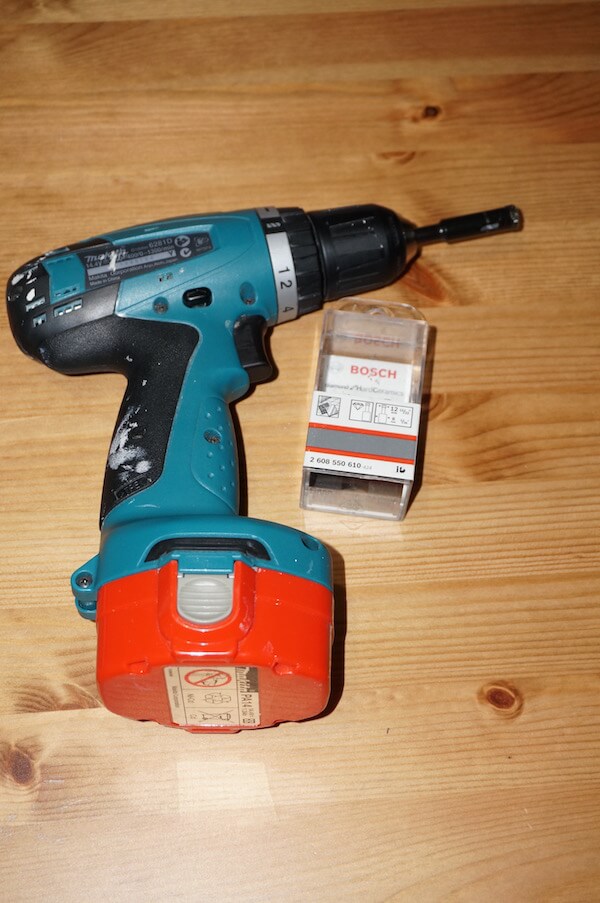
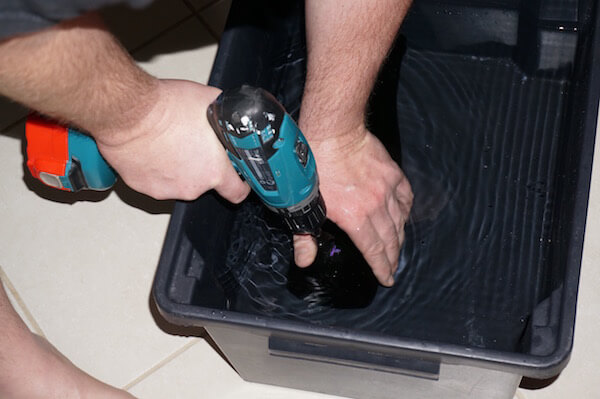
Now to drill the bottle for the power cord to come out through. You’ll need a water-bath (try use a container where you can lie the bottle flat in) and the right size diamond cutting drill bit. We used a 12mm Bosch one that should suffice for all bottles and wires.
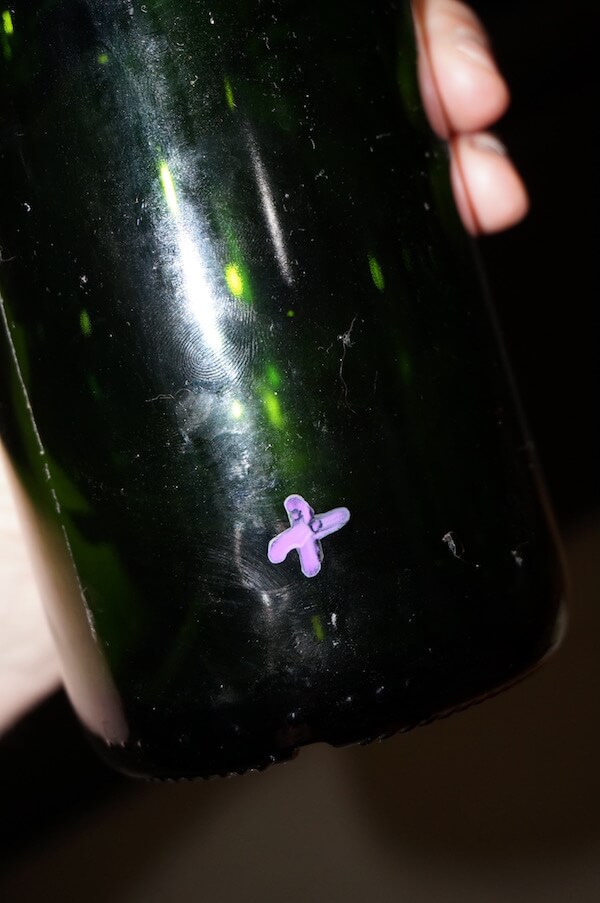
Select a location on the bottle for where you want the power cord to come out from. We chose to put it close to the base about 2 cm’s from the bottom of the bottle.
Submerge bottle in the water bath and drill. The water-bath provides coolant and lubrication for drill bit. Just remember not to submerge the drill under water! Use a slow speed but maintain good amount of pressure keeping the bottle in place for a nice clean round hole.
Once the hole is complete make sure you ensure the bottle is fully dry before inserting wire – water and electrical equipment do not play well together!
Insert the wire up through the bottle and fire up the soldering iron to prepare for soldering the wire to light component end.
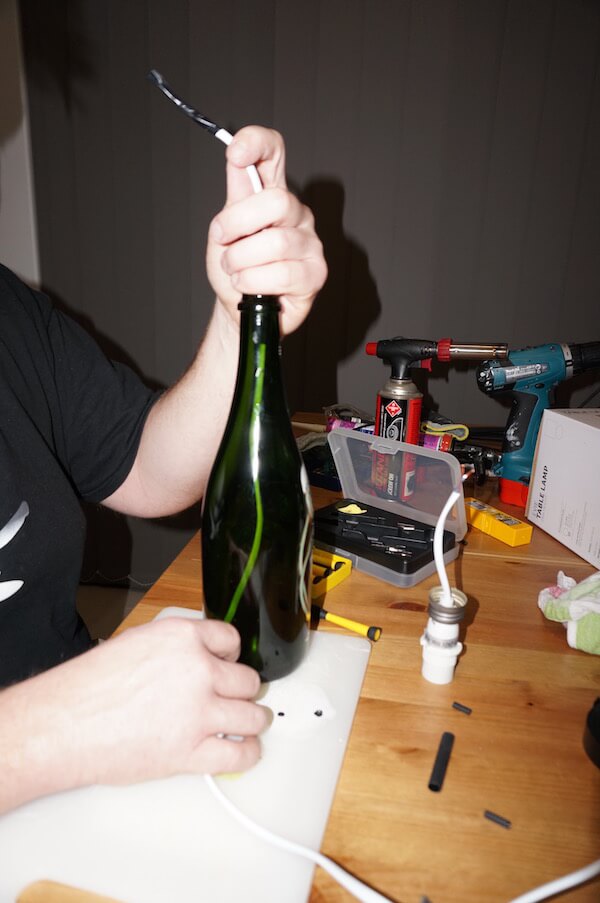
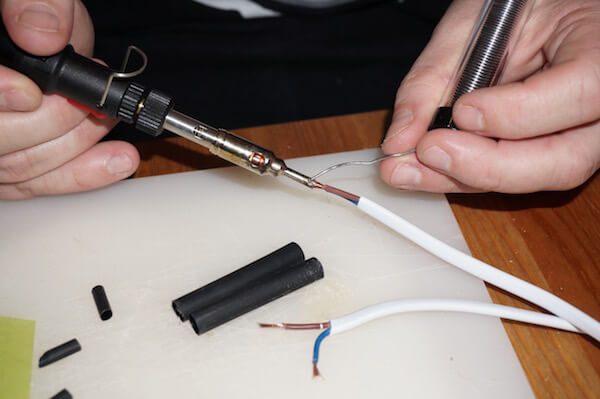
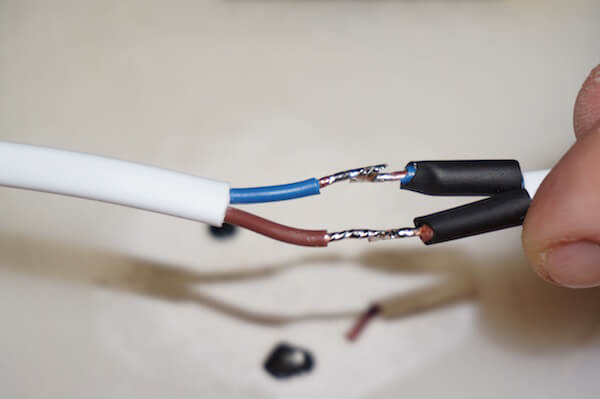
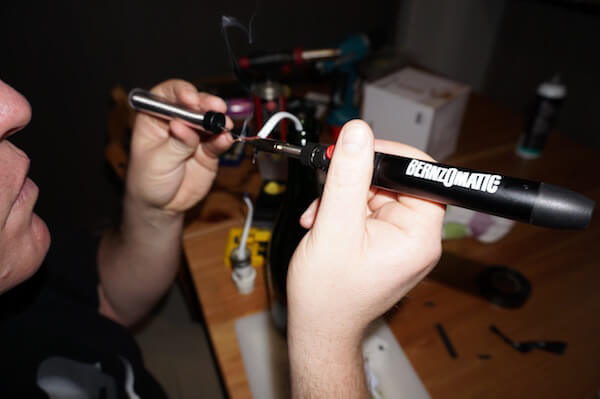
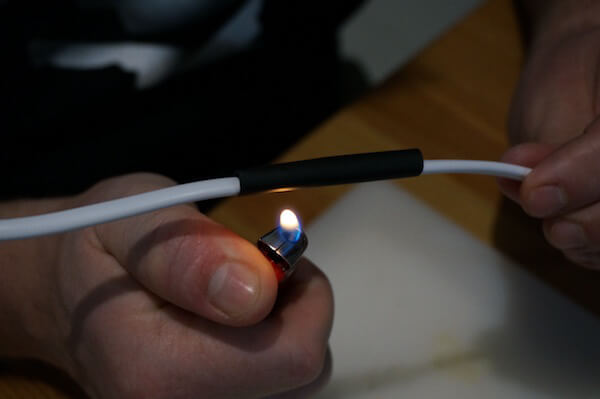
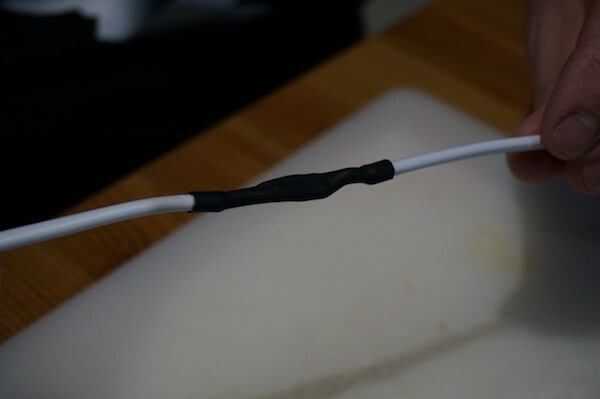
Once the individual wires are taken care of, place a larger piece of heat shrink-wrap over all the wires to fully insulate the cord again. Note: If you’re colour-blind don’t do this, the wire colours must match up or you literally could be in for a shock!
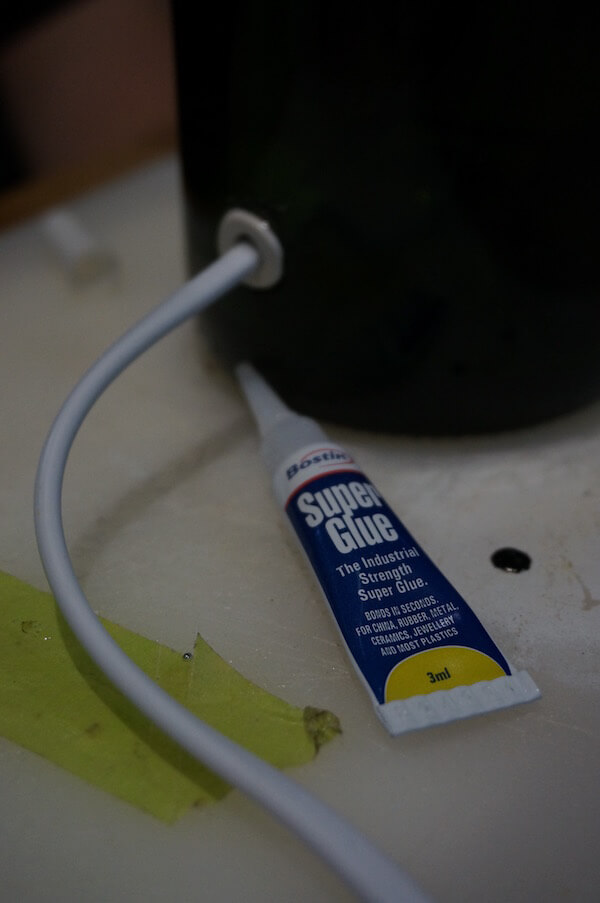
Now all you need to do is fix all the parts to the wine bottle so nothing is loose, we used super glue and silicon to do this. Add lamp shade and lightbulb and then using a RCD protected power strip test your lamp!
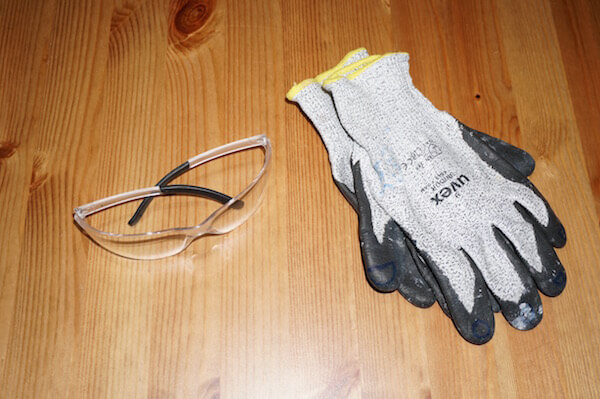
One final note: Always make sure you have protective gear and equipment on hand when you are working with the above tools – luckily Mr. Spittoon is a certified tradie so he knew exactly what he was doing and always made sure everything was as safe as reasonably practicable.


Hi Susan, I have done some digging but have had no luck sorry. Perhaps you can get in touch with a local sparky who may be able to help?
This is great, but I need someone to do it for me and glass glaziers seem reluctant to do. Do you know any companies that can do this for a cost?